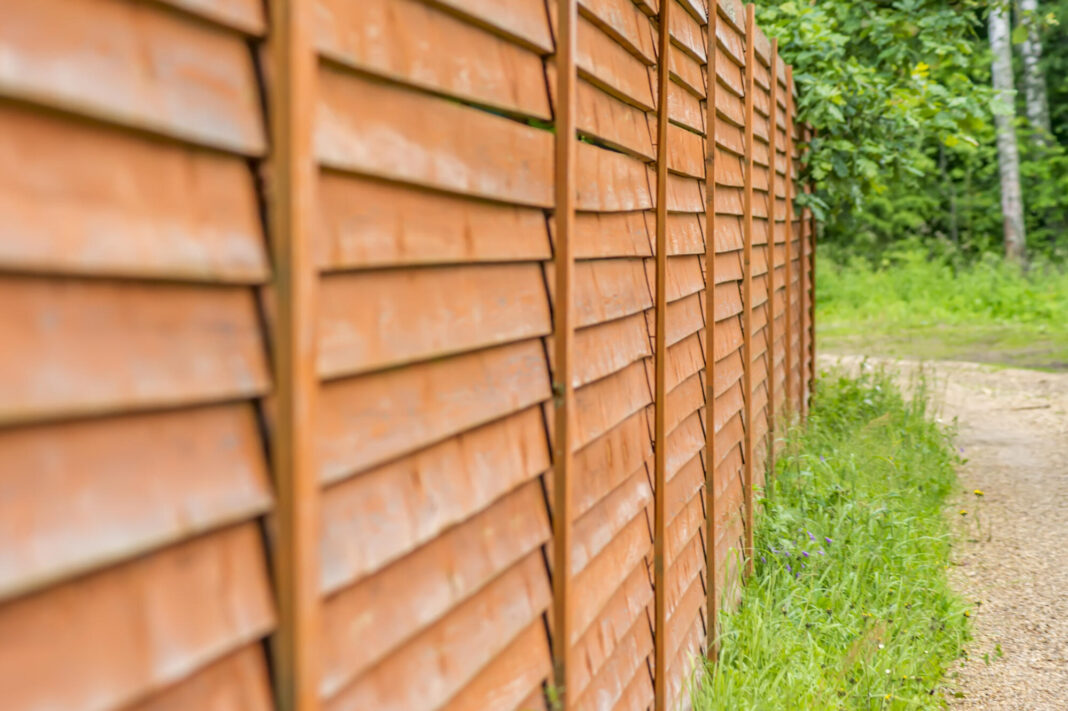
Building a wood fence can transform your yard into a private retreat, help keep pets and kids safe, and even boost curb appeal. And while hiring a professional might be convenient, doing it yourself can save you some serious cash—especially since professional fence installation near my location, can cost anywhere from $16 to $40 per foot. Thinking, “How hard could it really be?” the answer is not as hard as you might think, especially if you break it down into manageable steps.
Get Ready to Install Your Own Fence
Most DIY fences are built one section at a time, usually 8 feet wide, so you can repeat the process until your outdoor space is completely enclosed. Want to make it even easier? Consider using large, pre-made fence panels. These come in 8-foot lengths and typically stand 6 feet high, a height that meets most local building codes.
Quick Tips:
- Concrete Hack: Instead of mixing wet concrete, use dry concrete directly in the post holes and follow with water. It’ll harden within an hour, no messy mixing required!
- Plan with Neighbors: Check with neighbors if your fence borders their property. Some communities even require written permission from adjacent neighbors.
- Permits and Rules: Most places require a building permit to install a fence, so be sure to look into your local regulations. You’ll also want to check height restrictions—many communities max out at 6 feet—and any setback requirements, which means how far your fence needs to be from the property line.
Best Time to Build
Building a fence is best done when the ground isn’t frozen, so if you’re in a place like Missouri, early spring or late fall might be ideal. Just make sure the soil is soft enough for digging.
Step-by-Step Guide to Installing a Fence
-
Mark the Spot for Utilities
-
- Before you even think about digging, call your local utility locator service to mark buried services like water, gas, and electric lines. You don’t want any surprises! It’s a free service, and technicians will mark any buried utilities with washable spray paint.
-
Plan Out the Fence Line
-
- Drive two stakes into the ground about 10 feet apart and stretch a string between them to create a straight line. This is your guide to make sure the fence stays level and on track.
-
Dig the First Post Hole
-
- Use a post-hole digger to make your first hole. A good rule of thumb is to dig a hole about half the height of your post and three times as wide. This depth will help keep your fence stable.
-
Measure for the Next Post Hole
-
- Place a post in the first hole temporarily, and have someone measure 8 feet over to mark where the next hole should go. Keep everything straight by following the string line.
-
Dig the Second Post Hole
-
- Dig your second hole at the marked spot, ensuring it’s exactly 8 feet from the first hole. This spacing keeps the fence panels consistent and easy to install.
-
Add Gravel to the Bottom of the Hole
-
- Pour roughly 4 inches of gravel into the post hole, then press it down firmly with a scrap piece of wood. This layer allows for drainage and stability.
-
Secure the Posts with Concrete
-
- Brace the posts in the holes with two-by-fours to keep them steady, then pour quick-setting dry concrete into each hole until it’s about 3 to 4 inches below ground level. Add water, and let it sit. It should harden within 20 to 40 minutes.
-
Position the Fence Panel
-
- With a friend’s help, lift a fence panel into place between two posts. Use a scrap piece of wood to create some space at the bottom if needed. Ensure it’s level and fits snugly but not so tight that it pushes the posts outward.
-
Attach the Fence Panel
-
- Secure the panel to the posts by using four screws on each side. Screw through the sides of the panel into the posts to secure it. Make sure everything is lined up and level as you go.
-
Stain and Finish (Optional)
- Cedar naturally resists the elements, so staining is optional, but it can add some protection and enhance the color. For other types of wood, like pressure-treated lumber, let it dry out first before adding any stain or finish. Use a brush, roller, or sprayer to apply it nice and evenly.
Building a fence can be a rewarding project that gives your yard a whole new look. If you’re searching for more advice or need materials, search for “fence builder Fenton MO” to find local suppliers who can help make your project a success. Good luck, and enjoy your new fence!


